Knitting bobbles is really simple containing only 4 steps.
Bobble, in an essence, is the number of stitches increased into one stitch, knitting those increased stitches through twice (or more if you need a larger bobble), and finally knitting them back together again.
Let me show you…
Don’t have time now? Pin for later…
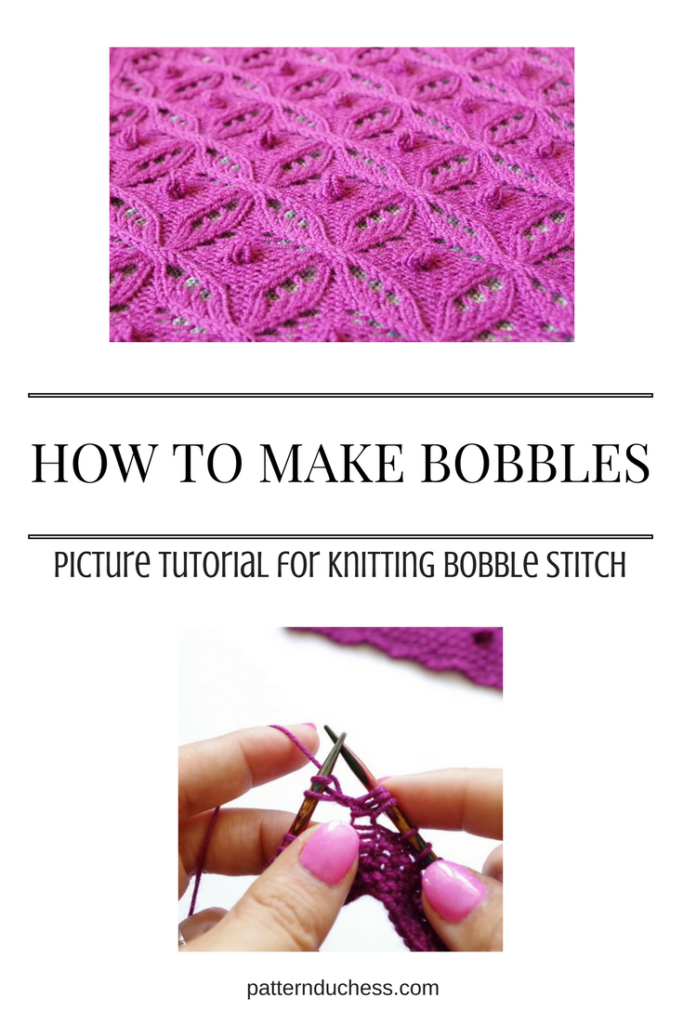
Bobble stitch instructions
We will begin by making multiple stitches into one stitch knitting front and back. Your pattern may state how many stitches you need to make, but usually (at least I have noticed this) its about 5. So, let’s practice with five.
Step 1: work 5 stitches into one stitch
This is how you do it:
Knit stitch (don’t let the stitch off of your left hand needle)…
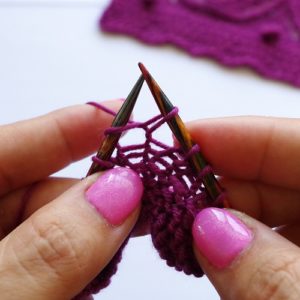
…knit back of the same stitch (still don’t let the stitch off of your left-hand needle)
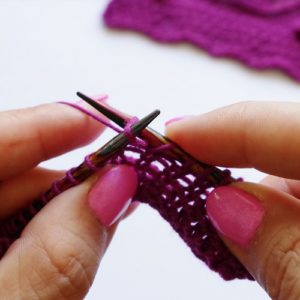
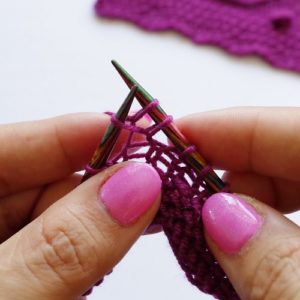
Repeat knitting front and back until you have 5 stitches, ending with the knit stitch.
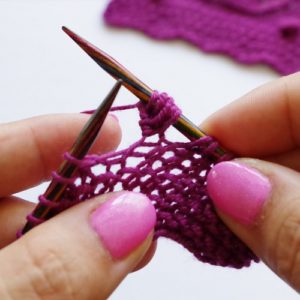
You have now 5 stitches “growing” out of the one.
Step 2: turn your work and…
…slip 1st stitch purlwise.
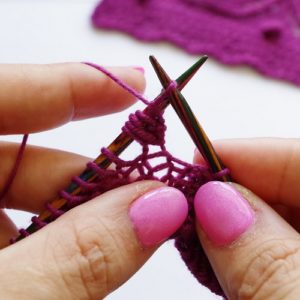
Purl 4
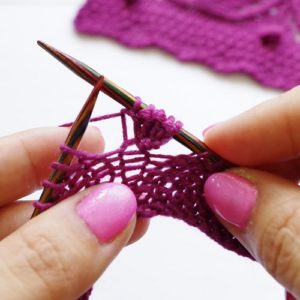
Step 3: turn your work and…
…slip 1st stitch knitwise
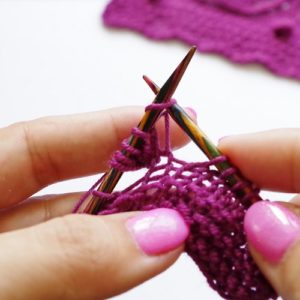
Knit 4
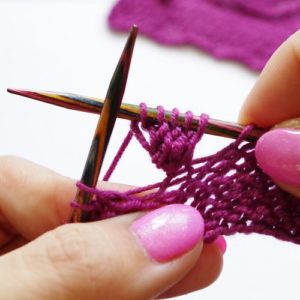
Step 4: (DO NOT turn work) start passing stitches over the last knitted stitch
If we number our bobble stitches according to knitting, then last stitch would be a stitch #5 (here’s a pic to illustrate that):
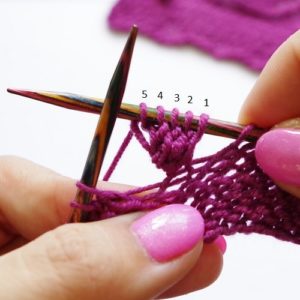
So, pass 4th stitch over the stitch #5…
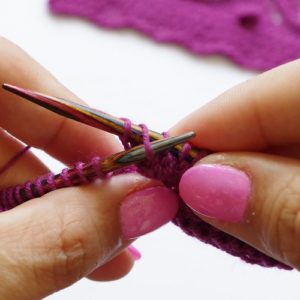
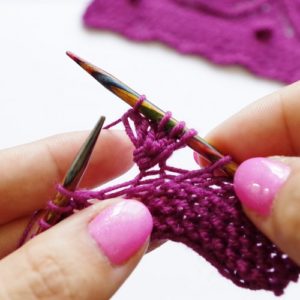
…then 3rd over the 5th…

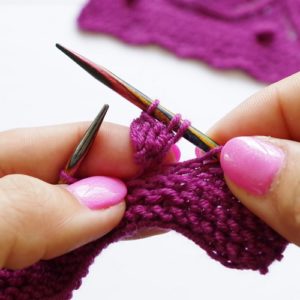
…2nd over the fifth…

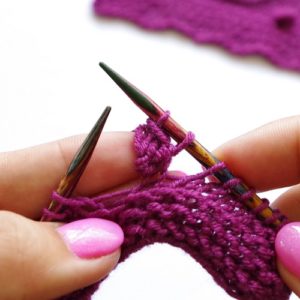
…and finally 1st over the 5th.
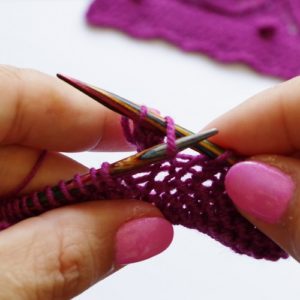
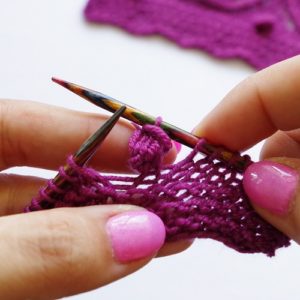
Now you have only one stitch left. Congratulations! Move on with your pattern…
Now, what happens if your pattern requires you to work your bobble between two stitches?
Easy.
There will be 1 additional step before you start your bobble, and one more step when finishing your bobble.
Find the place where you need that bobble to be, and increase a stitch.
This is how you do it.
*****
Grab a strand between stitches by inserting your right-hand needle from back to right…
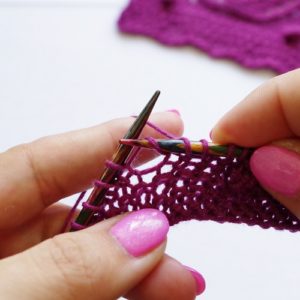
…and pass it over on to your left-hand needle (inserting the left-hand needle from the right side of the stitch).
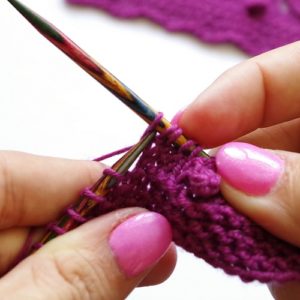
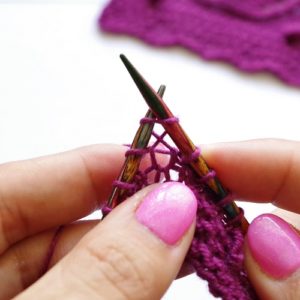
Now work your bobble steps 1 to 4 (above) into that stitch we just made.
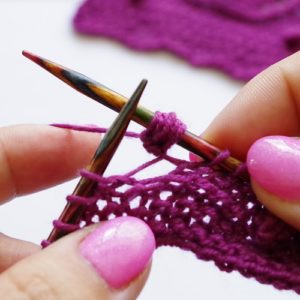
You have finished your step #4 by passing the 1st stitch over the 5th stitch. Now the extra step – pass one more stitch over the 5th stitch (the stitch we worked last before the increase stitch).
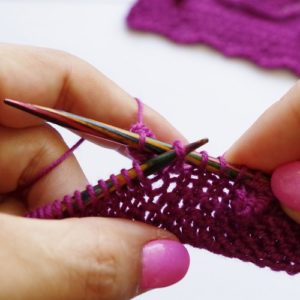
We are doing this because we increased one stitch to make a bobble, and now we need to decrease one stitch to continue with our pattern.
Everything clear?
Now comes the lazy knitter recommendation (because I’m like that).
Want to know how to make a bobble without turning your work (because it’s a pain – admit it)?
I’ll show you:
Work the step #1 as stated above.
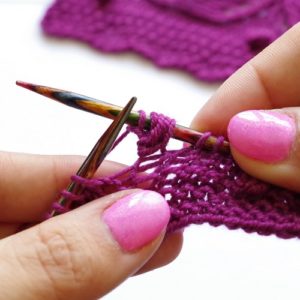
Pass 1st stitch onto left hand needle inserting the needle from right to left.
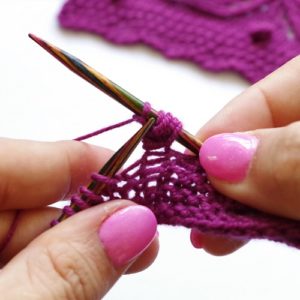
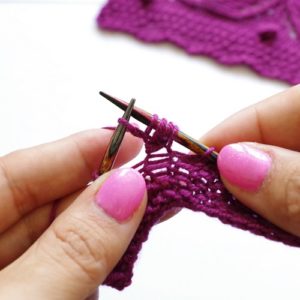
Now do the same with next stitch + knit it + pass it back to your left hand needle as before (inserting the needle from right to left)
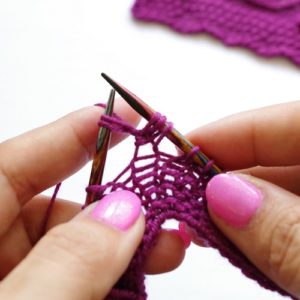
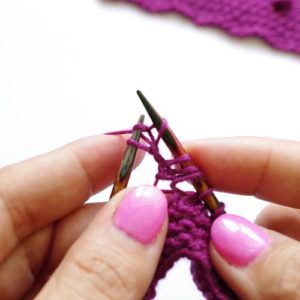
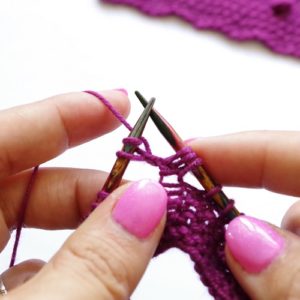
Work the same way next 3 sts.
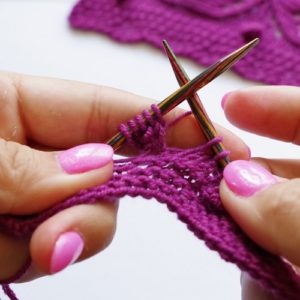
Don’t turn – slip 1st stitch, as usual, knit the rest 4 stitches, and work step #4 like above.
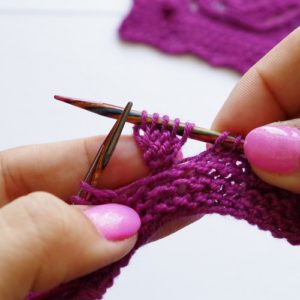
Now, why do you need to learn this?
So, you could knit the patterns like this:

